|
|||||||||||||||
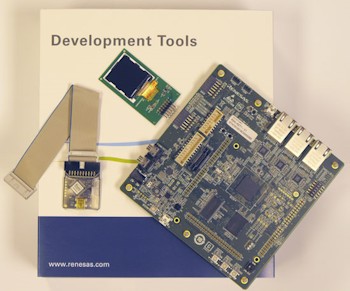
Renesas RZ/T RTOS Demo
|
|||||||||||||||


 The comprehensive example is created when mainCREATE_SIMPLE_BLINKY_DEMO_ONLY is set
to 0 in main.c. When this is done, main() calls main_full():
The comprehensive example is created when mainCREATE_SIMPLE_BLINKY_DEMO_ONLY is set
to 0 in main.c. When this is done, main() calls main_full():

|
|
|
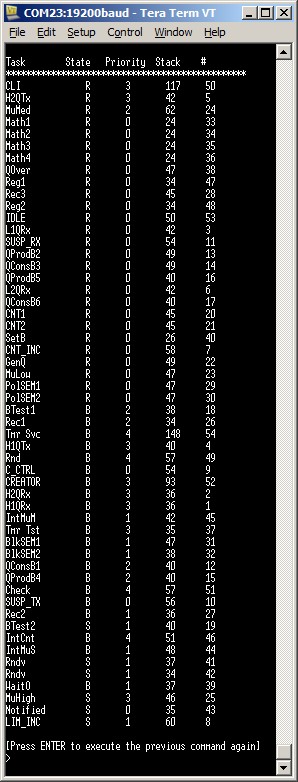
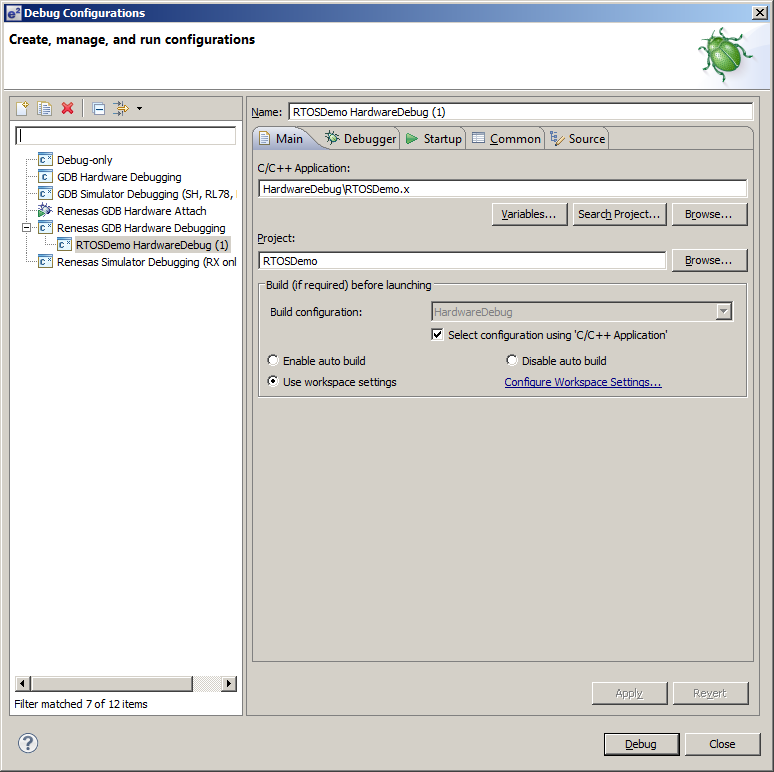
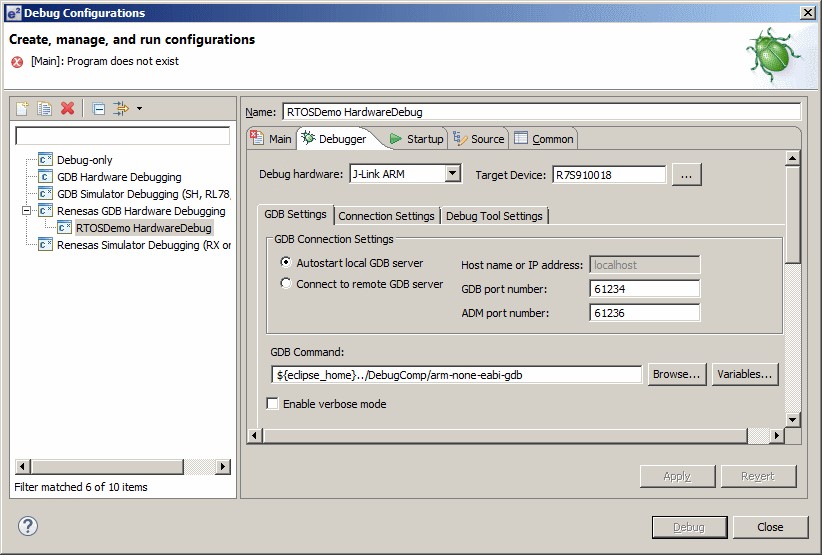
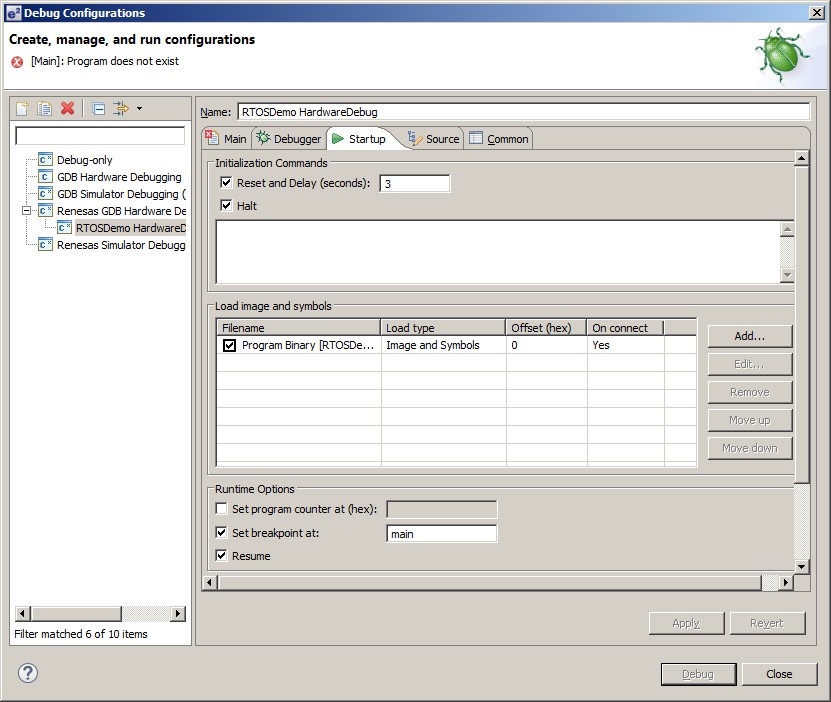
Click images to enlarge
RTOS Configuration and Usage Details
Interrupt service routines
When an interrupt occurs, the RZ/T real time embedded processor hardware will
vector directly to a peripheral specific interrupt handler, rather than to the
ARM Cortex-R IRQ vector. Therefore, each interrupt handler installed by the
application must include an assembly file wrapper that performs some house keeping,
then branches to the FreeRTOS interrupt entry code. The FreeRTOS interrupt entry
code manages interrupt entry, including interrupt nesting, before calling a
standard C function in which the interrupting peripheral is serviced.
For the purpose of this example, assume the C portion of the interrupt handler is called InterruptHandler() - as shown below. A full example is provided after the sections that demonstrate how to write the assembly file wrappers:
void InterruptHandler( void )
{
    /* Write the interrupt handler code here. */
}
The C portion of the interrupt handler - this is where the interrupting peripheral is serviced
|
For the purposes of this
example, assume the assembly wrapper is called InterruptHandlerWrapper(). The
wrapper must save a pointer to the C portion of the handler function into a
variable called pxISRFunction, then branch to a function called
FreeRTOS_IRQ_Handler (which is provided by the RTOS).
The syntax required to add the assembly file wrapper to each C interrupt handler function is dependent on the compiler used (IAR or GCC). Examples and further references are provided below.
Writing an assembly wrapper for an ISR: IAR
When using the IAR tools, the assembly wrapper must be implemented in an assembly file. A generic example is provided below. Further examples can be found in /FreeRTOS/Demo/CORTEX_R4F_RZ_T_GCC_IAR/System/IAR/Interrupt_Entry_Stubs.asm.
    SECTION intvec:CODE:ROOT(2)
    ARM

    /* Variables and functions from the RTOS port. */
    EXTERN pxISRFunction
    EXTERN FreeRTOS_IRQ_Handler

    /* The C portion of the interrupt handler. */
    EXTERN InterruptHandler

    /* Functions implemented in this file. */
    PUBLIC InterruptHandlerEntry

    /* The implementation of InterruptHandlerEntry. */
InterruptHandlerEntry:
    /* Save used registers (probably not necessary). */
    PUSH    {r0-r1}
    /* Save the address of the C portion of this handler into pxISRFunction. */
    LDR     r0, =pxISRFunction
    LDR     R1, =InterruptHandler
    STR     R1, [r0]
    /* Restore used registers. */
    POP     {r0-r1}
    Branch to the RTOS IRQ handler. */
    B        FreeRTOS_IRQ_Handler
The assembly wrapper for the C interrupt handler function - IAR
|
Writing an assembly wrapper for an ISR: GCC
When using the GCC tools, the GCC inline assembler and the 'naked' function attribute can be used to include the assembly wrapper in a C file. A generic example is provided below. Further examples can be found in the /FreeRTOS/Demo/CORTEX_R4F_RZ_T_GCC_IAR/src/FreeRTOS_tick_config.c, /FreeRTOS/Demo/CORTEX_R4F_RZ_T_GCC_IAR/src/cg_src/r_cg_scifa_user.c and /FreeRTOS/Demo/CORTEX_R4F_RZ_T_GCC_IAR/src/full_demo/IntQueueTimer.c source files.
#include "FreeRTOS.h"

/* The prototype for the function that implements the assembly file wrapper must
use the naked attribute - which prevents the compiler from adding any function
prologue or epilogue assembly code. */
void InterruptHandlerWrapper( void ) __attribute__((naked));

/* The implementation of InterruptHandlerEntry.   This is a naked function and
must not include and C code! */
void InterruptHandlerWrapper( void )
{
    __asm volatile (
        /* Save used registers (probably not necessary). */
        "PUSH   {r0-r1}                               \t\n"
        /* Save the address of the C portion of this handler in pxISRFunction. */
        "LDR    r0, =pxISRFunction                    \t\n"
        "LDR    r1, =InterruptHandler                 \t\n"
        /* Restore used registers. */
        "STR    r1, [r0]                              \t\n"
        "POP    {r0-r1}                               \t\n"
        Branch to the RTOS IRQ handler. */
        "B       FreeRTOS_IRQ_Handler                     "
    );
}
The assembly wrapper for the C interrupt handler function - GCC
|
Writing the C portion of an ISR: IAR and GCC
If an ISR causes a task of equal or higher priority than the currently executing task to leave the Blocked state then the ISR must request a context switch before the ISR exits. When this is done the interrupt will interrupt one RTOS task, but return to a different RTOS task.The macros portYIELD_FROM_ISR() (or portEND_SWITCHING_ISR()) can be used to request a context switch from within an ISR. The following source code snippet is provided as an example. The example ISR uses a direct to task notification to synchronise with a task (not shown), and calls portYIELD_FROM_ISR() to ensure the interrupt returns directly to the task.
void InterruptHandler(void)
{
long lHigherPriorityTaskWoken = pdFALSE;

    /* Clear the interrupt if necessary. */
    Dummy_ClearPendingInterrupt();

    /* This interrupt does nothing more than demonstrate how to synchronise a
    task with an interrupt.  A task notification is used for this purpose.  Note
    lHigherPriorityTaskWoken is initialised to zero. */
    vTaskNotifyGiveFromISR()( xTaskToNotify, &lHigherPriorityTaskWoken );

    /* If the task with handle xTaskToNotify was blocked waiting for the notification
    then sending the notification will have removed the task from the Blocked
    state.  If the task left the Blocked state, and if the priority of the task
    is higher than the current Running state task (the task that this interrupt
    interrupted), then lHigherPriorityTaskWoken will have been set to pdTRUE
    internally within vTaskNotifyGiveFromISR().  Passing pdTRUE into the
    portEND_SWITCHING_ISR() macro will result in a context switch being pended to
    ensure this interrupt returns directly to the unblocked, higher priority,
    task.  Passing pdFALSE into portEND_SWITCHING_ISR() has no effect. */
    portEND_SWITCHING_ISR( lHigherPriorityTaskWoken );
}
The C portion of an interrupt service routine
|
Only FreeRTOS API functions that end in "FromISR" can be called from an
interrupt service routine.
Generating the RTOS tick interrupt
The RTOS Cortex-R port is a generic port that is tailored to specific embedded
processor implementation using macros and callback functions. The RTOS tick
interrupt is configured using the following two macros, which are defined in
the FreeRTOSConfig.h file supplied with the RTOS demo application:
-
configSETUP_TICK_INTERRUPT()
This must call the function that configures a timer to generate the tick interrupt, and install FreeRTOS_Tick_Handler() as the timers interrupt service routine (via an assembly wrapper, as described above).
In the provided demo application the macro is set to call vConfigureTickInterrupt(), which is defined in FreeRTOS/Demo/CORTEX_R4F_RZ_T_GCC_IAR/src/FreeRTOS_tick_config.c, and configures the compare match timer 5 (CMT5) to generate the RTOS tick.
-
configCLEAR_TICK_INTERRUPT()
This must clear pending interrupts in whichever timer is used to generate the RTOS tick.
In the provided demo application the macro is set to clear the interrupt in CMT5, as the RTOS tick interrupt is generated by CMT5.
Including the IRQ handling function
The RTOS Cortex-R port is a generic port that is tailored to a specific embedded
processor implementation using macros and callback function. In the RZ/T RTOS port
the generic IRQ handling code (the code that manages interrupt entry) calls
vApplicationIRQHandler(), and vApplicationIRQHandler() must be provided by the
application.
In the provided demo application vApplicationIRQHandler() is implemented in FreeRTOS/Demo/CORTEX_R4F_RZ_T_GCC_IAR/src/FreeRTOS_tick_config.c, and replicated below:
/* The function called by the FreeRTOS IRQ handler, after it has managed
interrupt entry.  This function creates a local copy of pxISRFunction before
re-enabling interrupts then calling the handler pointed to by pxISRFunction.
pxISRFunction is set by the assembly wrapper added to each interrupt handler. */
void vApplicationIRQHandler( void )
{
ISRFunction_t pxISRToCall = pxISRFunction;

	portENABLE_INTERRUPTS();

	/* Call the installed ISR. */
	pxISRToCall();
}
The implementation of vApplicationIRQHandler() for the RZ/T RTOS port
|
FreeRTOS ARM Cortex-R4F port demo application specific configuration
Configuration items specific to this demo are contained in FreeRTOS/Demo/CORTEX_R4F_RZ_T_GCC_IAR/src/FreeRTOSConfig.h. The constants defined in this file can be edited to suit your application.Resources used by FreeRTOS
FreeRTOS requires exclusive use of the SVC interrupt.Memory allocation
Source/Portable/MemMang/heap_4.c is included in the ARM Cortex-R4 RTOS demo application project to provide the memory allocation required by the RTOS kernel. Please refer to the Memory Management section of the API documentation for full information.Miscellaneous
Note that vPortEndScheduler() has not been implemented.
NXP tweet showing LPC5500 (ARMv8-M Cortex-M33) running FreeRTOS.
Meet Richard Barry and learn about running FreeRTOS on RISC-V at FOSDEM 2019
Version 10.1.1 of the FreeRTOS kernel is available for immediate download. MIT licensed.
View a recording of the "OTA Update Security and Reliability" webinar, presented by TI and AWS.
FreeRTOS and other embedded software careers at AWS.

![]()


![]()